Monday, May 20, 2013

Make your own Matching Game

Have you ever played the card matching game, where you see who can make the most matches first? This was one of my absolute favorite games as a child! That is why I am excited to share this next project with you! You can make your own matching game!

matching game IMG_1516

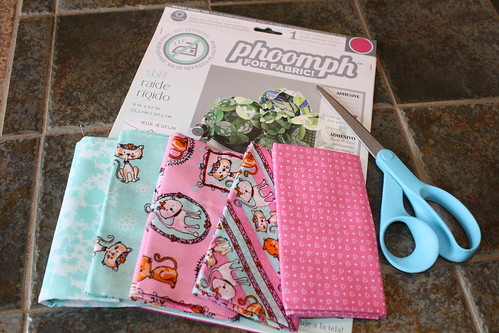
For this project you will need:
A new product called Phoomph for Fabric (I found this at Jo-Ann's craft store)
A few fat quarter size fabrics (I only used 3, although 5 are pictured)
Fabric scissors

  IMG_1493 

One of the best things about this project is that it is a no-sew project! The phoomph is like a sticky felt or foam. It comes in different colors. Here I used pink. It is sticky on both sides, and adheres permanently to the fabric.
 
First, peel off the backing from one side of the phoomph. Place the sticky side down to the wrong side of a fat quarter fabric that you have selected. This side will be the face of the cards that you see while playing the game. Trim off the excess fabric. Next, cut the stiff fabric into 3 long pieces.

collagematching

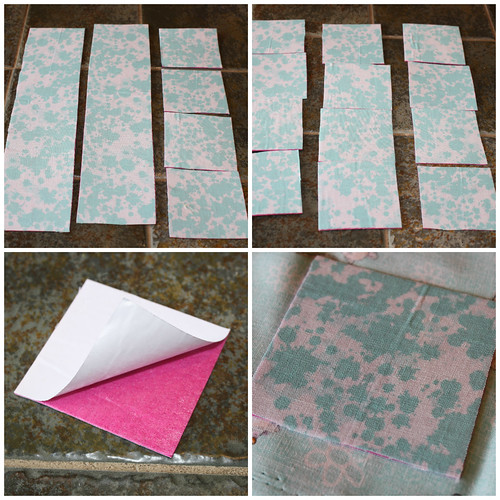
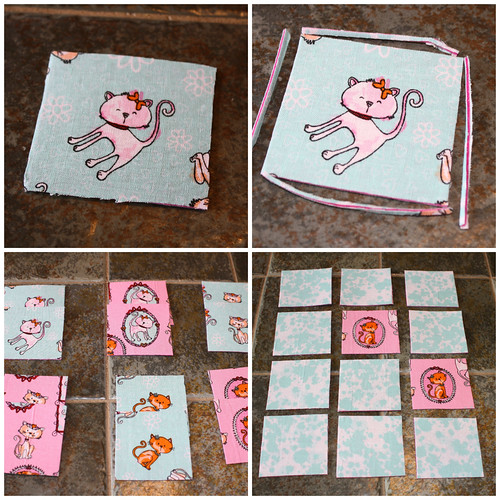
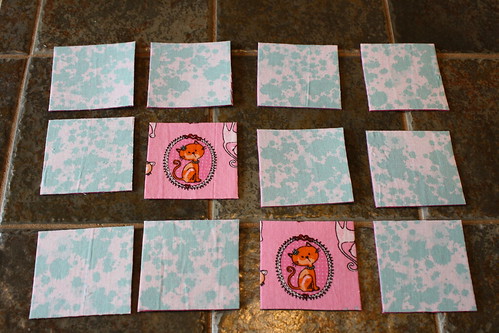
Once you have three long pieces, cut each one into 4 squares. This gives you a total of 12 "cards" for your game. Now you need to choose 6 designs for the other side of the squares (2 cards of each design for a total of 12). Peel the backing off this side of the squares and place onto the wrong side of the fabric over the designs.

collagematching2 

Trim off the excess fabric and then cut a nice clean square from the stiff piece. Do this 11 more times, to have a total of 12 cards (6 pairs). Now you can play the matching game. Put all cards face down and take turns with a friend.

collagematching3

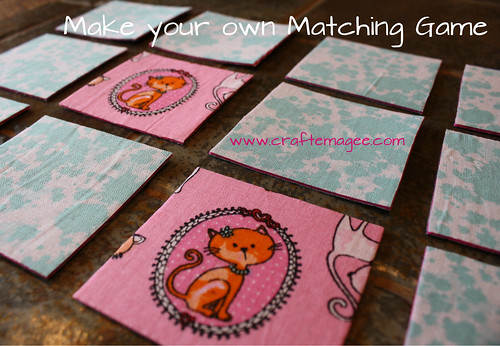
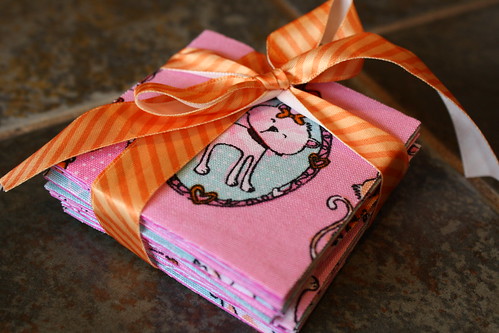
Because this project is no-sew and quick, it is a great craft to do with the kids. They will love being able to create the pieces, and then play the game!

IMG_1523 

You could make more than 12 pieces for an even bigger game set. Enjoy them or give them as a gift! Homemade toys are always fun!

IMG_1530

No comments: